Quick Start
A 15-minute walkthrough from first launch to a safe first GO.
This is the beta tester’s “start here” page. It assumes nothing beyond a workstation that meets the requirements in Installation. In 15 minutes you will build a tiny show, run preflight, and take a live GO.
Before you start
- CueForge 0.99.1 beta installed (provided through the beta programme).
- One short audio file on your computer — any WAV or MP3 you have permission to use.
- Your personal beta license installed through Settings → Licensing.
- A working audio output and an explicit Master bus device/channel binding (built-in speakers are fine).
The 15-minute walkthrough
- 1
Launch CueForge
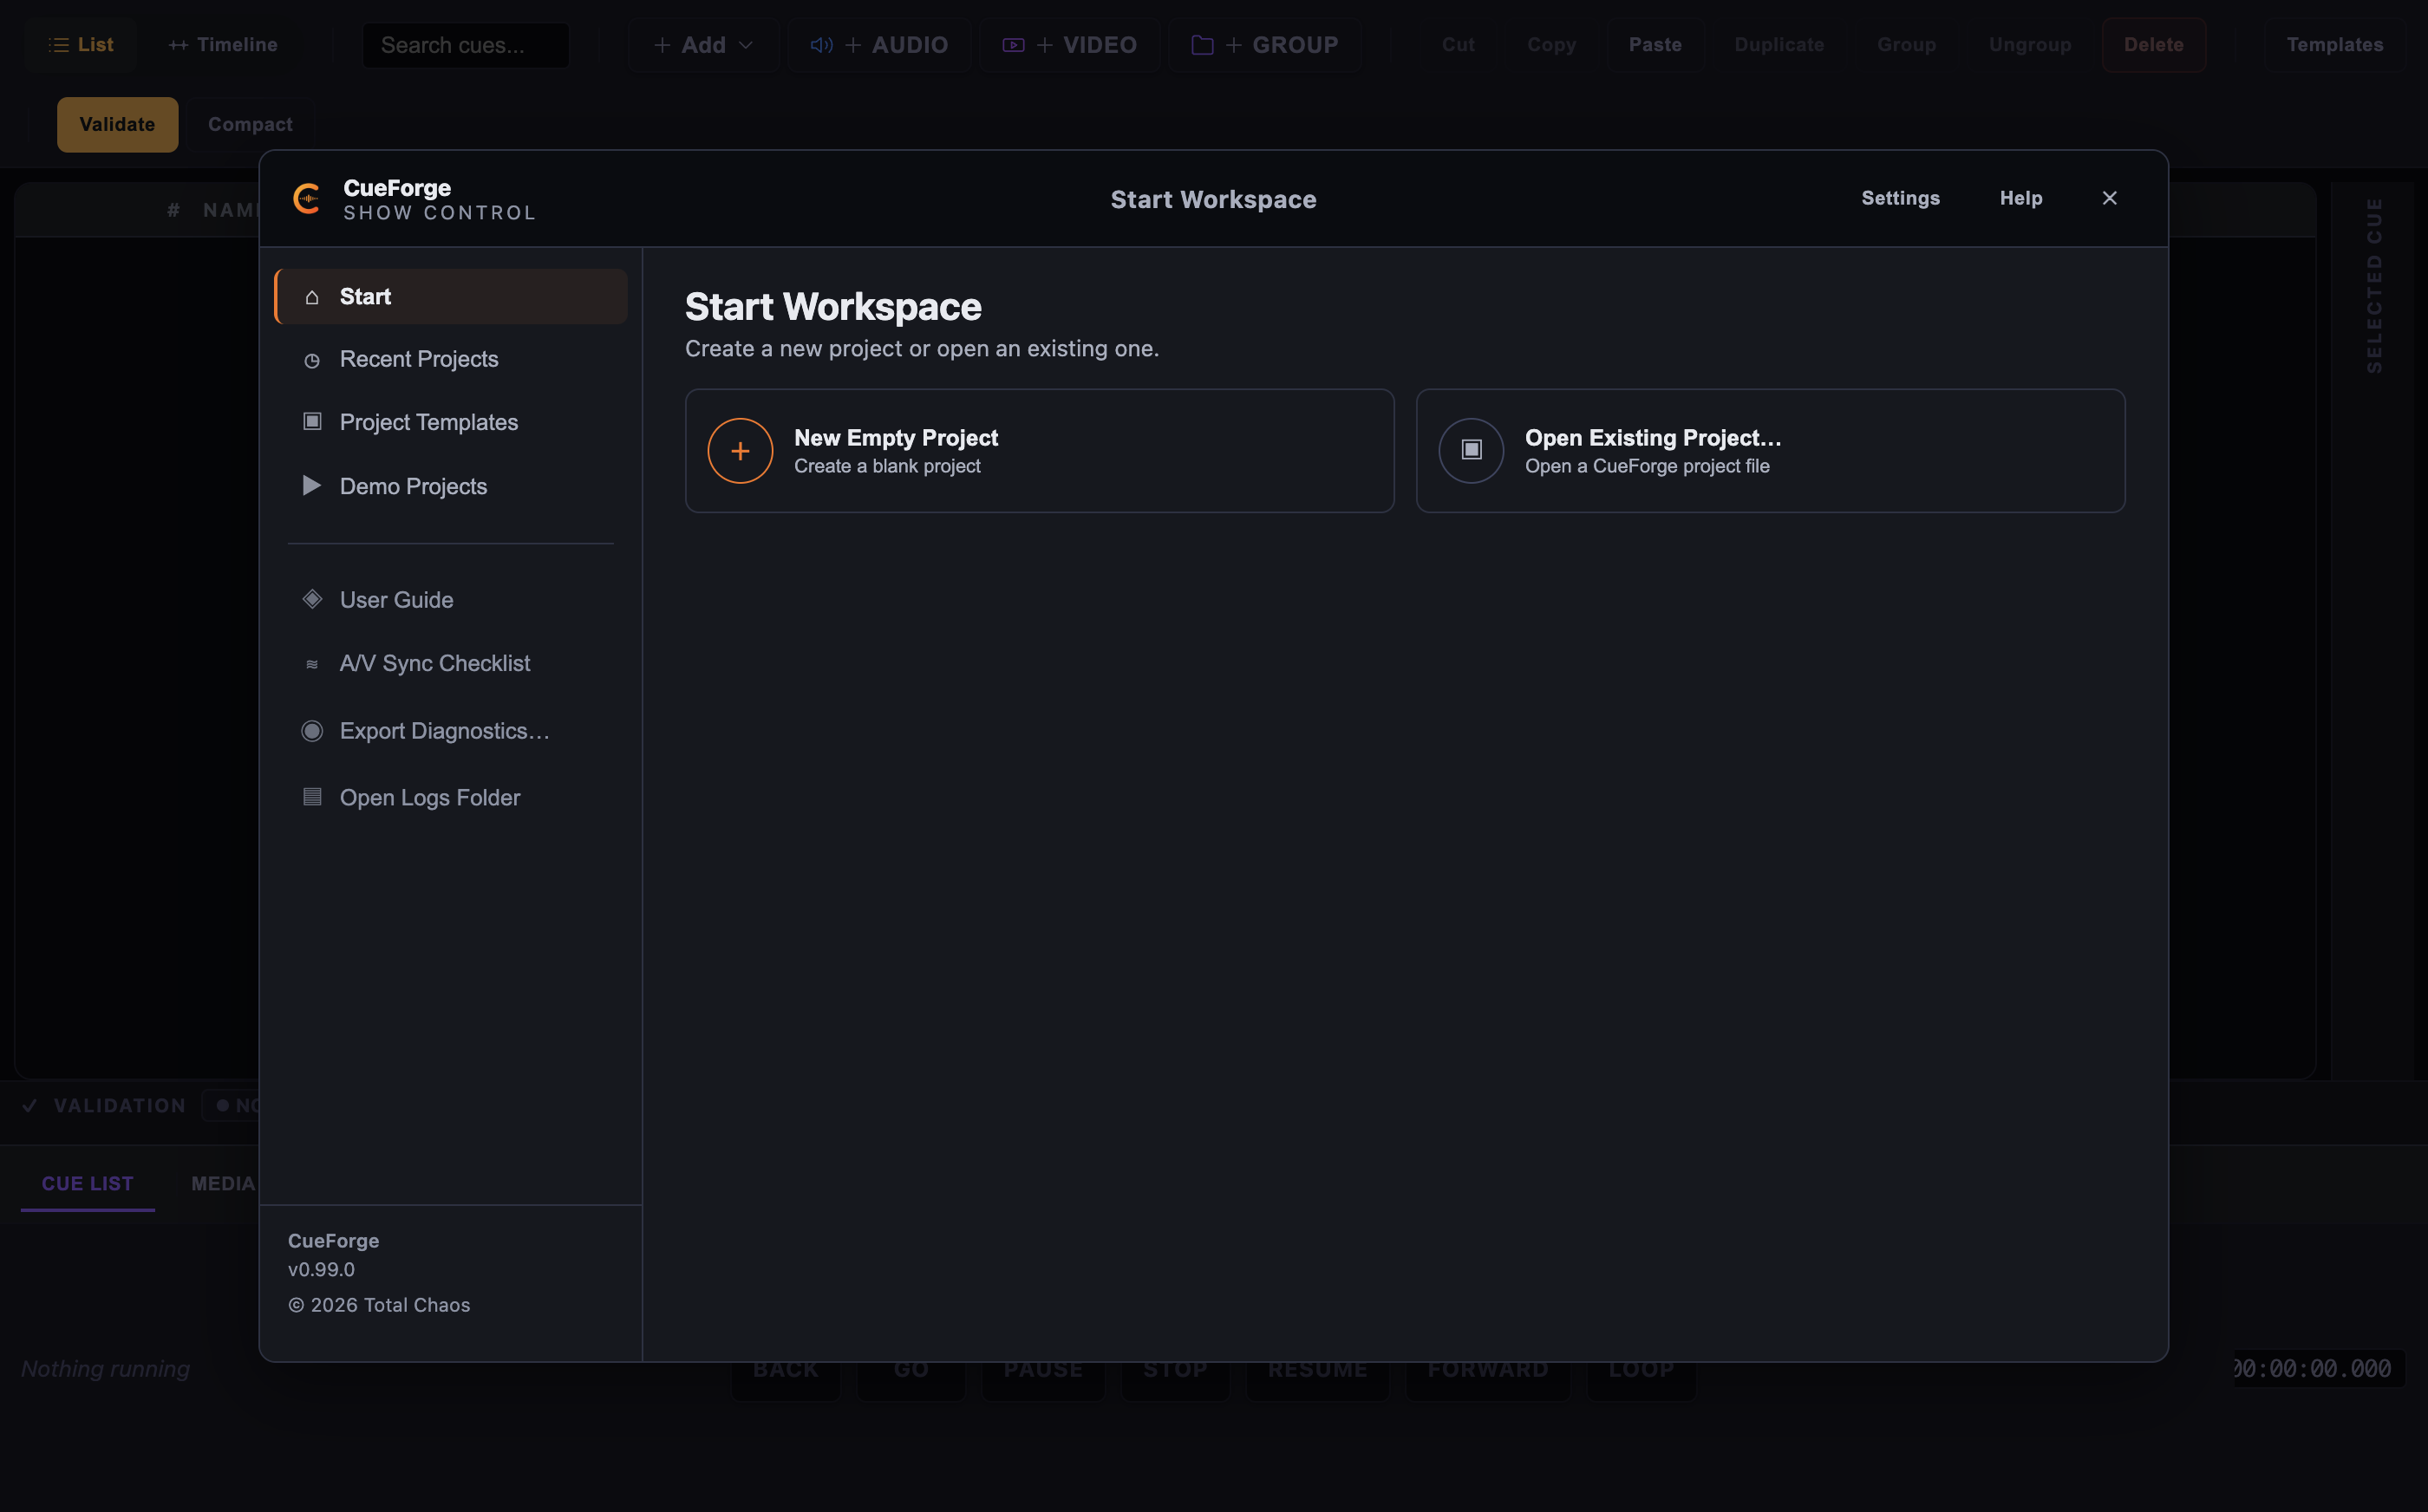
Open the application. It starts in the Start Workspace.
- 2
Create a new project
In the Start Workspace, click **New Empty Project**. Save it somewhere sensible.
Cmd+N, then Cmd+S - 3
Add an Audio cue
Click the **Add** button and choose **Audio Cue**. A cue named **"New Audio Cue"** appears in the cue list — no file picker yet. Select it, then in the inspector's **Media Source** group click **"Replace Audio File…"** and choose your audio file.
Add → Audio Cue - 4
Name the cue
Press `F2` (or double-click the name) and rename it to something meaningful, like "Opening Music". Cue numbers are computed for you.
- 5
Add a Group
With the first cue selected, click **Add** and choose **Group Cue**. With the group selected, the Add menu offers **Add inside Group** — add a second Audio cue inside it. Set the group's **Group Mode** to **Sequential** in the inspector.
Add → Group Cue, then Add inside Group - 6
Audition the audio
Check the Master bus device/channel binding. Use **Audition** in the Inspector or **PLAY** in the Audio Editor. Use that preview transport to pause and stop. Preview currently sounds through Master, so isolate the audience output.
Audition / PLAY → PAUSE → STOP - 7
Save
Press `Cmd+S`. The title bar clears its dirty indicator — your work is on disk.
Cmd+S - 8
Run preflight
Switch the header mode switch to **SHOW**. Preflight opens automatically. Fix anything red; read anything yellow before acknowledging.
Mode switch → SHOW → Preflight - 9
Enter Show Mode
Click **Enter Show Mode**. The interface switches to the live operator view.
- 10
GO
Press `Space` to fire the armed cue. The cue plays; subsequent behaviour depends on its continuation setting.
Space → GO - 11
STOP
Press `S` to stop running cues. Check the stopped state before restarting. Timecode triggers require deliberate rearming after STOP.
S → Stop - 12
PANIC and recover
Press `Escape`. Everything stops and a **PANIC ACTIVE** banner appears. Recovery is deliberate: click **Recover from Panic** and confirm. All transport stays blocked until you recover.
Escape → PANIC; Recover from Panic - 13
Quit safely
Press `Cmd+Q`. Because the project may have unsaved changes, a guard dialog offers **Save and Quit**, **Discard Changes**, or **Cancel**. Choose **Save and Quit**.
Cmd+Q → Save and Quit
The Start Workspace at first launch: New Empty Project, Open Existing Project, recent projects, templates, and demo projects.
Note: The physical
Cmd+Qshortcut is undergoing final acceptance testing in Edit Mode. If quit does not respond while you are in Edit Mode, use CueForge → Quit CueForge from the application menu. The quit guard dialog itself is fully functional.
Audition on a checked output route, preflight gate (checked), GO/STOP (controlled), PANIC (emergency brake with deliberate recovery), and the quit guard (no silent data loss). Every show you build with CueForge reuses these same five mechanisms.
Where to go next
- Core Concepts — understand what you just did.
- Cue Types — the other eleven cue types.
- Keyboard Shortcuts — the full operator keymap.
- Projects, Saving and Recovery — autosave, recovery, and missing media.